Reinforced Heel Flap & Gusset
You’ve worked the leg of your sock to the desired length, and you’re ready to knit the heel. Why choose the heel flap and gusset? There are a few reasons:
1. The intended wearer has bigger feet
2. The intended wearer has higher arches
3. This is a sturdy alternative to an all-stockinette heel
Recipe vs. Pattern: What’s the Difference?
A recipe is a formula that can be applied to any project, no matter the weight or gauge. For example, this heel recipe will achieve the same results on a fingering weight sock as it will a worsted weight one. Patterns require you to achieve a certain gauge to get the same outcome that the designer did. Yarn substitutions and differing gauges would require a bit of math to achieve the same result.
Before You Get Started
This heel is worked over half of the total number of stitches in your sock, and you choose whether to place the heel on the first or second half of your stitches. What does this mean? If working Magic Loop, your heel can be worked over the stitches on the first needle, or on those of the second. On double pointed needles (DPNs), you’d work your heel over needles 1 and 2 or 3 and 4. There is no right way to do it, it’s all a matter of preference.
I knit my socks using Magic Loop and work my heel on the second needle.
Glossary
There are numerous symbols and abbreviations used throughout this recipe. Decode them here.
[ ]: repeat the sequence within
BOR: beginning of round
DPN: double pointed needles
k: knit
k2tog: knit two together
p: purl
p2tog: purl two together
RS: right side
sl: slip
ssk: slip slip knit
st(s): stitch(es)
WS: wrong side
x: the total number of stitches being worked in the heel flap
yo: yarn over
The skills you’ll need:
left-leaning decrease (ssk)
right-leaning decrease (k2tog, p2tog)
slipping stitches
picking up stitches
Overview
This heel is constructed in 4 parts:
1. Knit the heel flap
2. Turn the heel
3. Pick up gusset stitches
4. Shape the gusset
Let’s get started!
The Recipe
1. The Heel Flap
Knit to the designated heel stitches and begin the following sequence:
If x is even:
Row 1 (RS): [Sl 1, k1] to end.
Row 2 (WS): Sl1, p to end.
If x is odd:
Row 1(RS): [Sl1, k1] to last st, k1.
Row 2 (WS): Sl1, p to end.
Repeat Rows 1 & 2 for x rows* or until your heel flap measures 2”. For bigger feet or higher arches, knit the heel flap to 2 ½” for more room. Finish on a WS row.
* One way to knit the heel flap is to work the same number of rows as you have stitches (i.e. you have 32 sts in your heel, so you would knit 32 rows). The downside to this is that your gauge over this height could be significantly larger than 2 – 2 ½”. That is why this step says knit x rows or 2 – 2 1/2”; you would stop knitting once the flap reaches the desired length regardless of the row count.
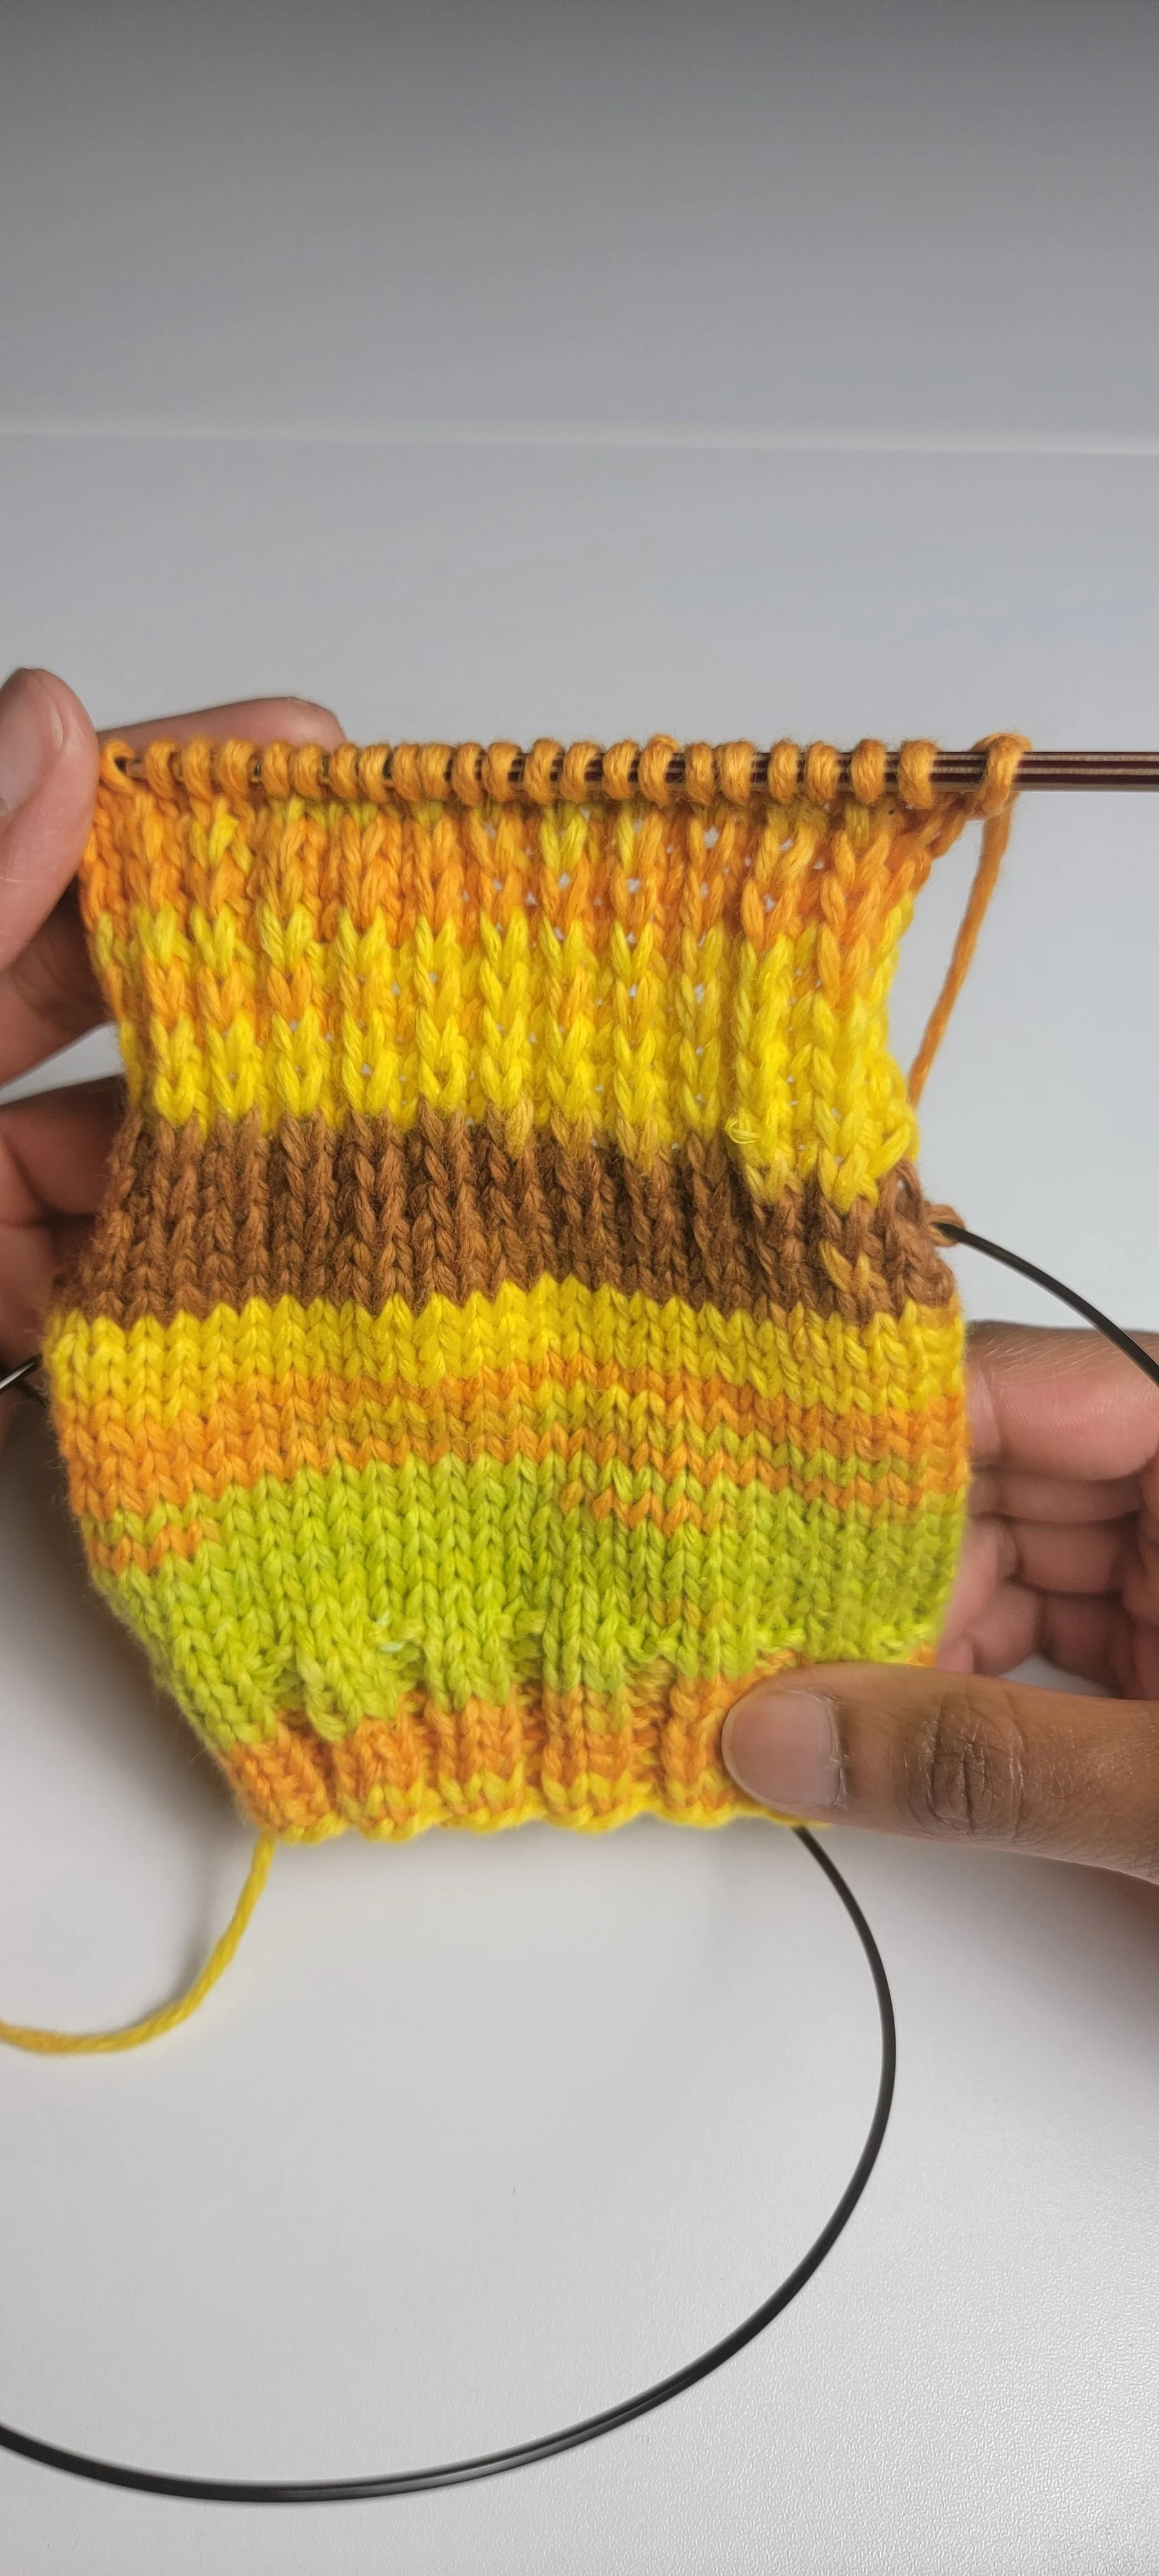
2. The Heel Turn
This is where we add dimension to the heel flap and shape it so that it fits comfortably under the heel.

Setup Row 1 (RS): Sl1, k(x/2) sts, ssk, k1. Turn.
Setup Row 2 (WS): Sl1, p3, p2tog, p1. Turn
After this row, you should have the same number of stitches on either side of the gaps created by the stitches you slipped. From here, you’ll be decreasing over the gaps in order to close them. Use them as your guide.
Row 1 (RS): Sl1, k to 1 st before gap, ssk, k1. Turn.
Row 2 (WS): Sl1, p to 1 st before gap, p2tog, k1. Turn.
Repeat Rows 1 & 2 until you’ve worked all of your heel stitches. Your final stitches may be worked as decreases, and this happens when you have an odd number of stitches on either side of your gaps. This is normal.
3. Add Gusset Stitches
This step is where you’ll rejoin your sock in the round. Before picking up the gusset stitches, you’ll be changing your beginning of round to start in the middle of the heel.
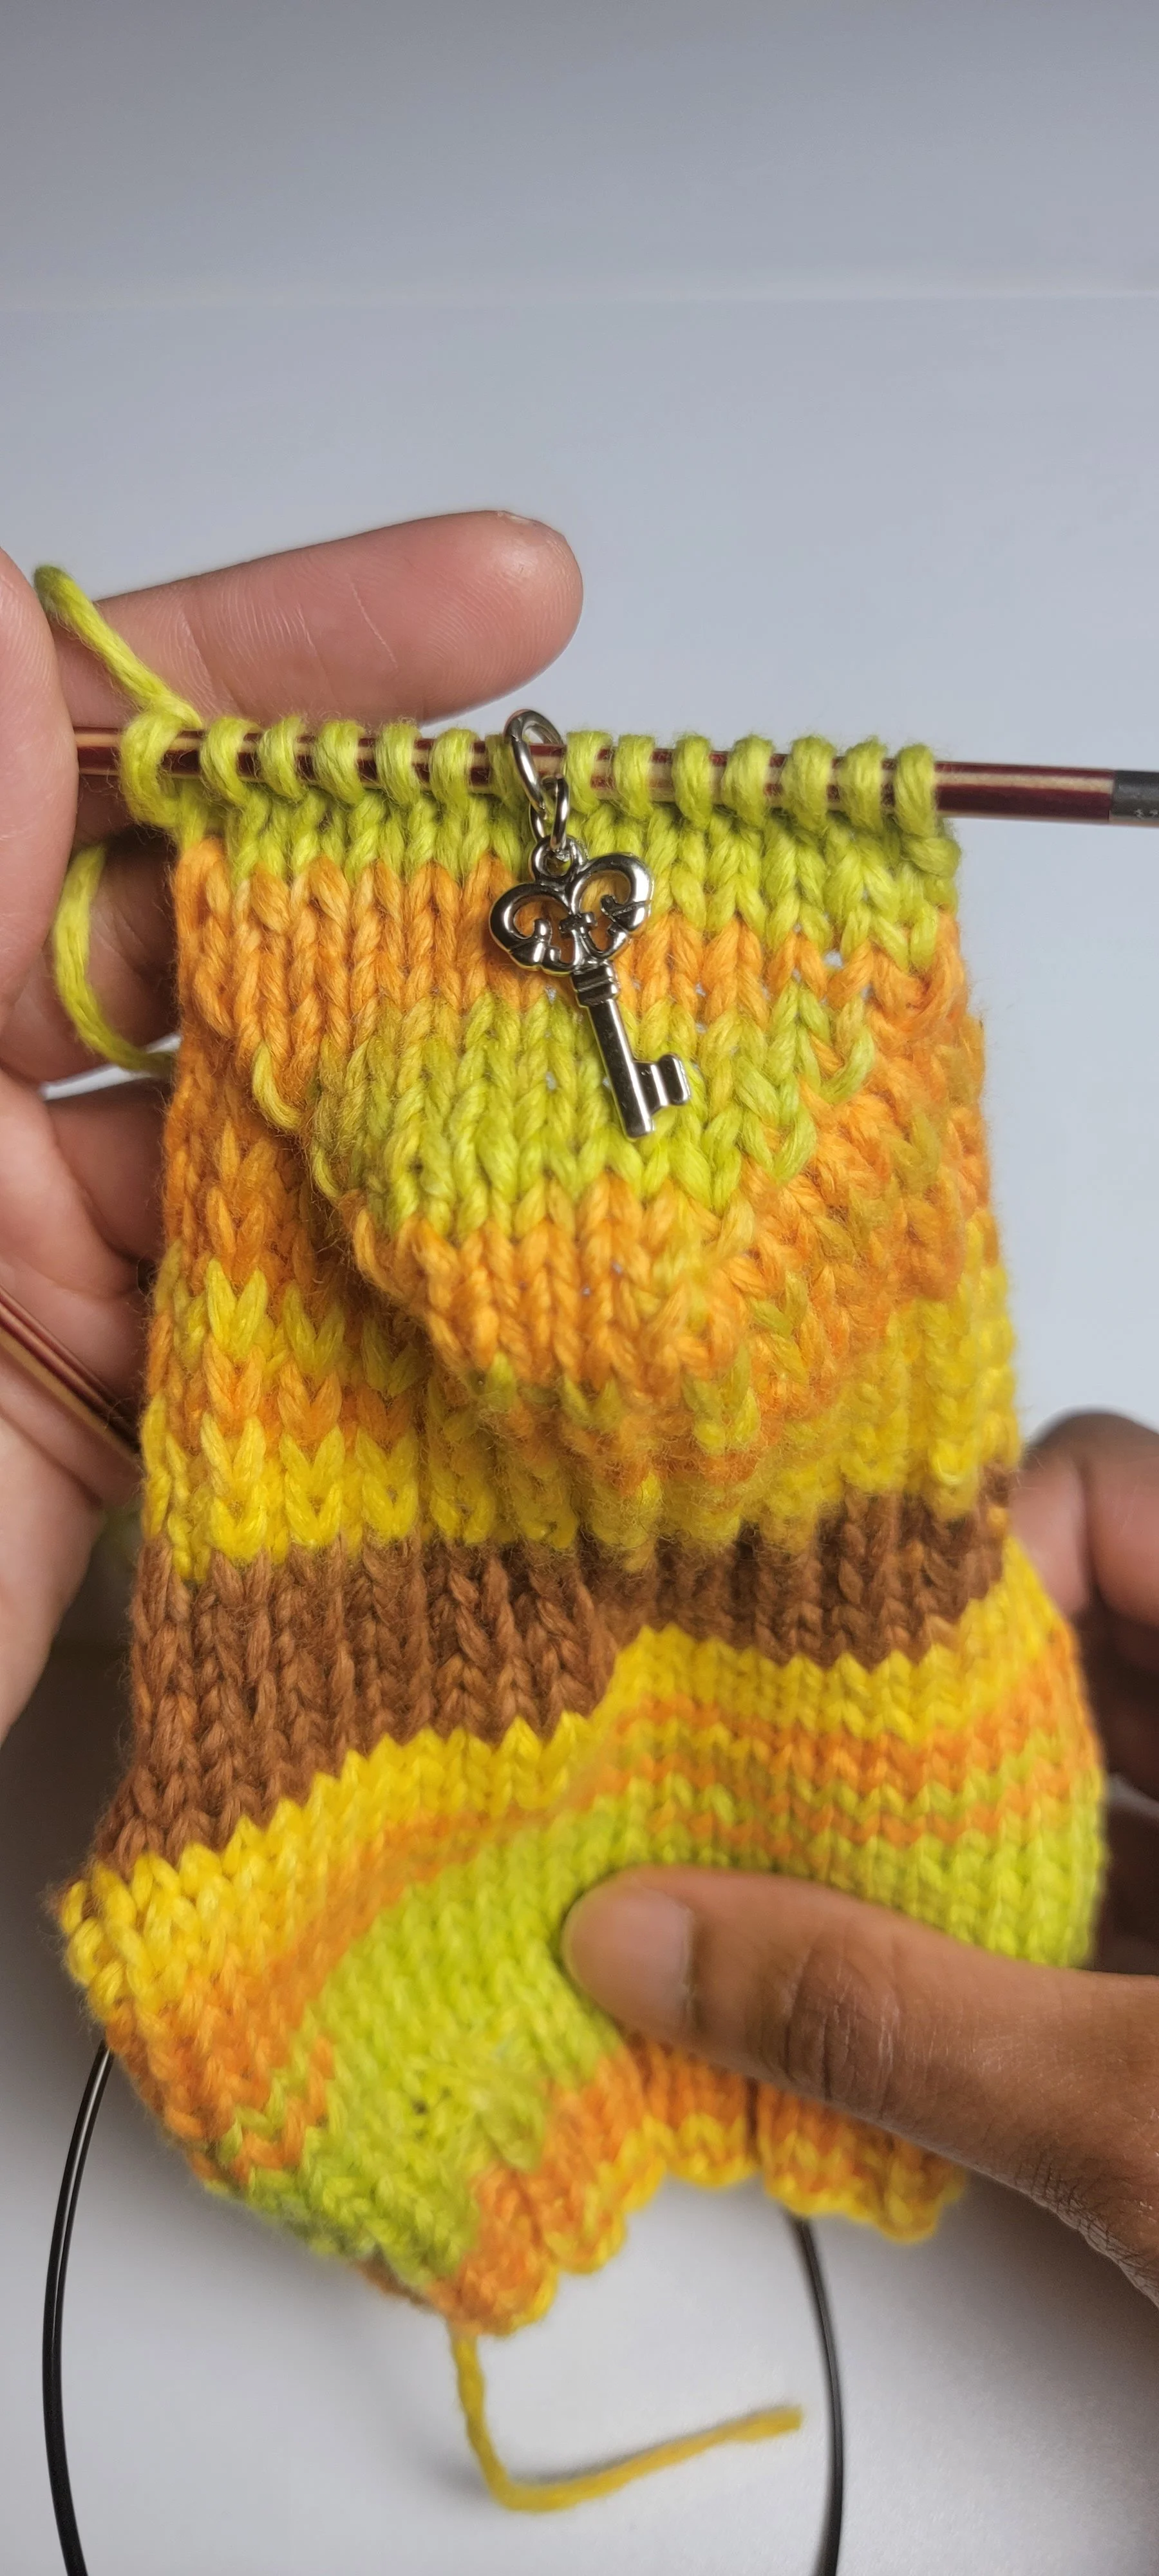
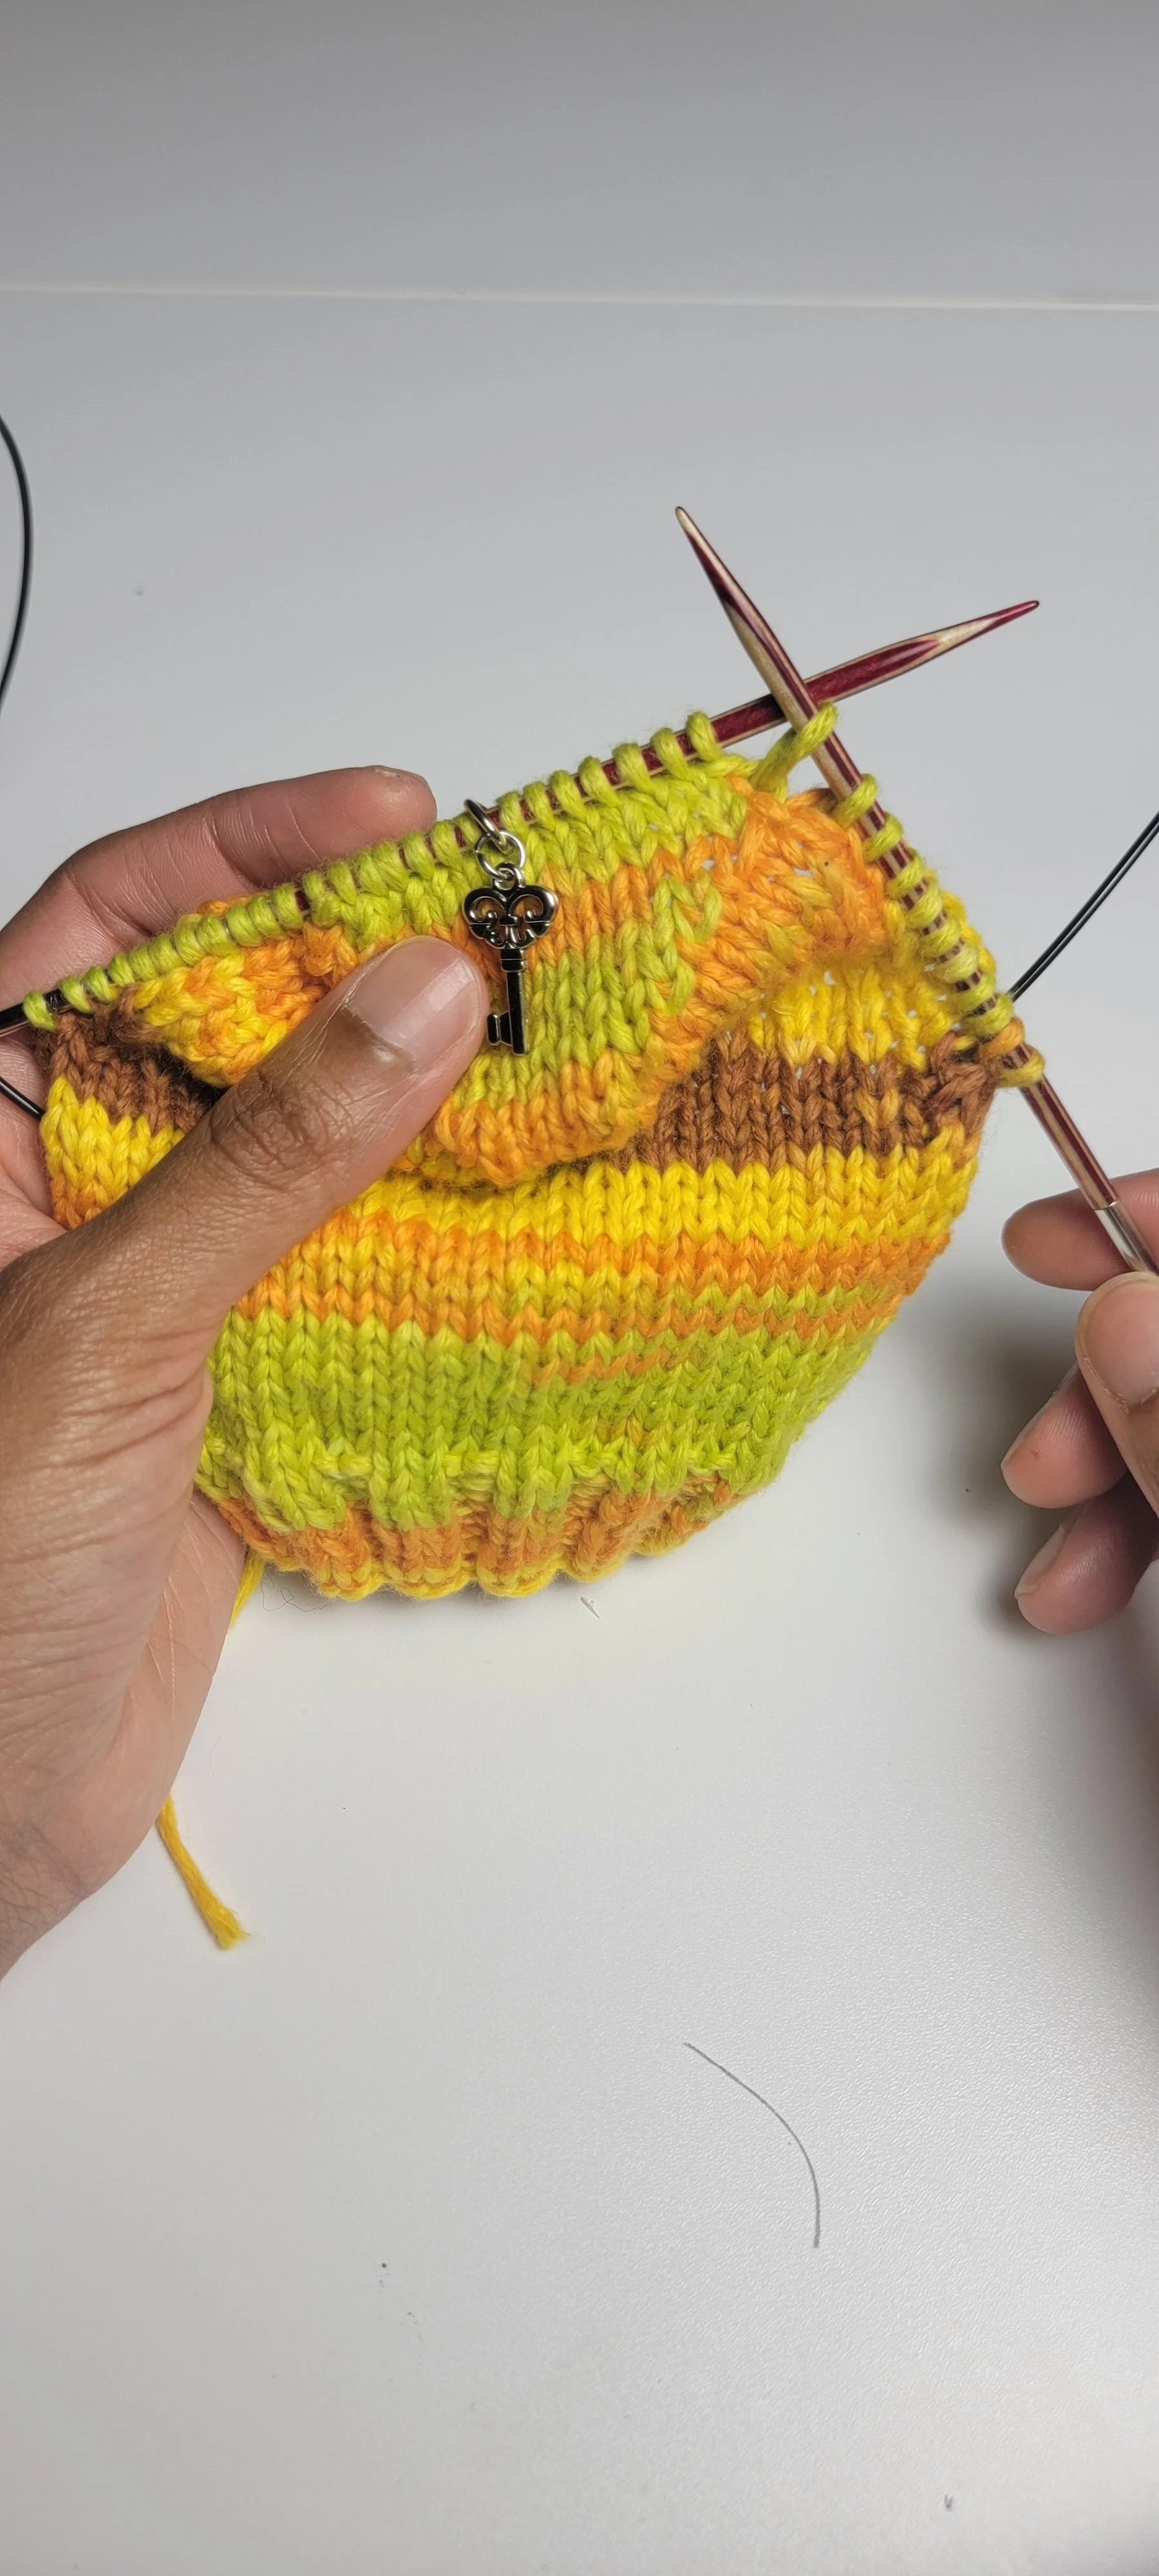
Adding the Marker
Next row: K(x/2), pm, k to the end.
This is your new beginning of round.
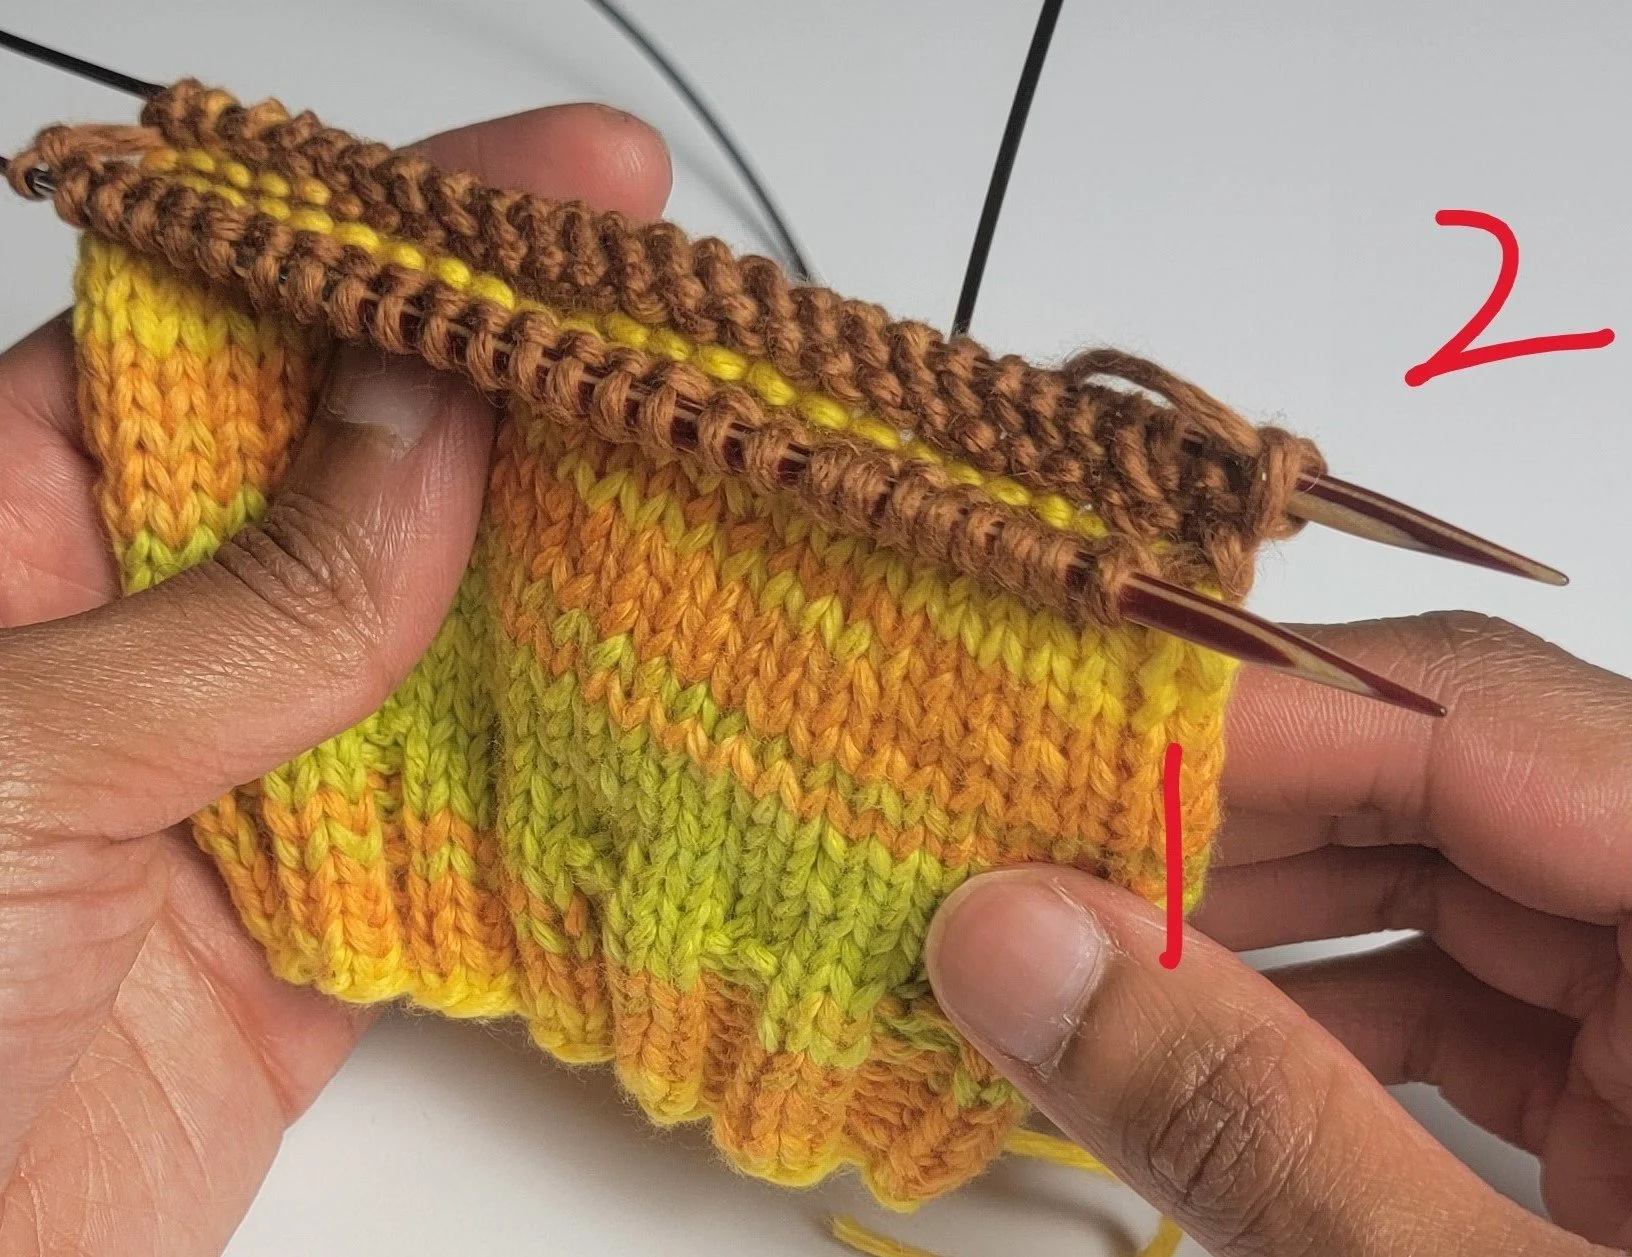
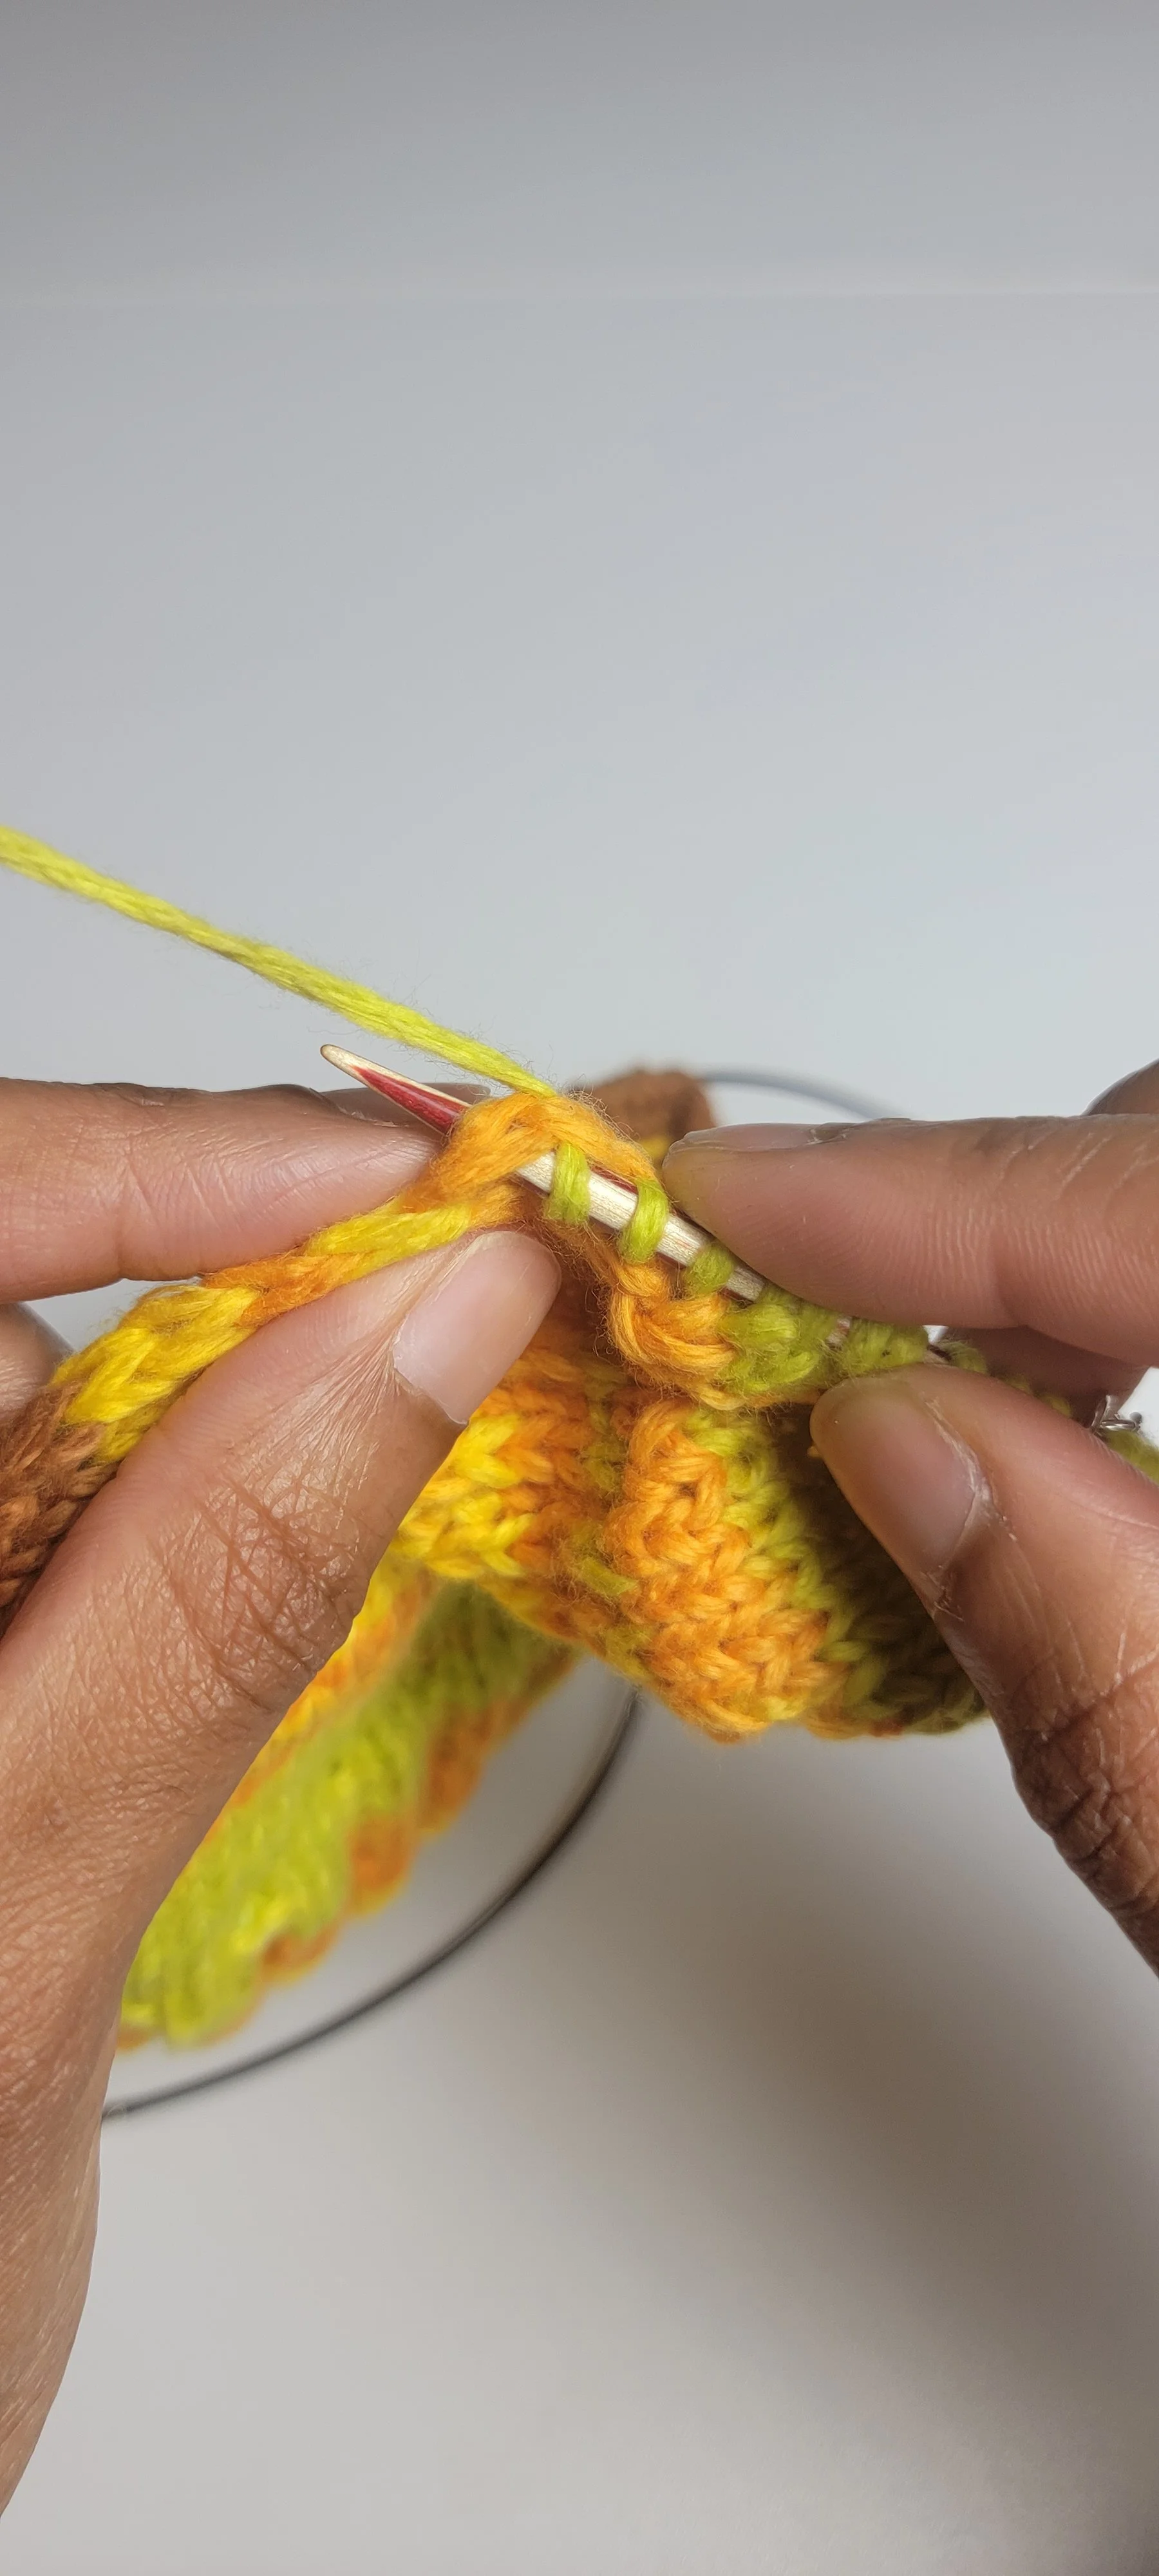
Turning your sock 90 degrees (so that the left side of the heel flap is pointed up), you will be picking up the slipped stitches worked at the beginning of each row.
To start: Skipping the chain closest to your needle, insert your needle underneath both legs of the following chain, yo, and and bring it through. Repeat until you’ve reached the last slipped stitch in your heel flap.
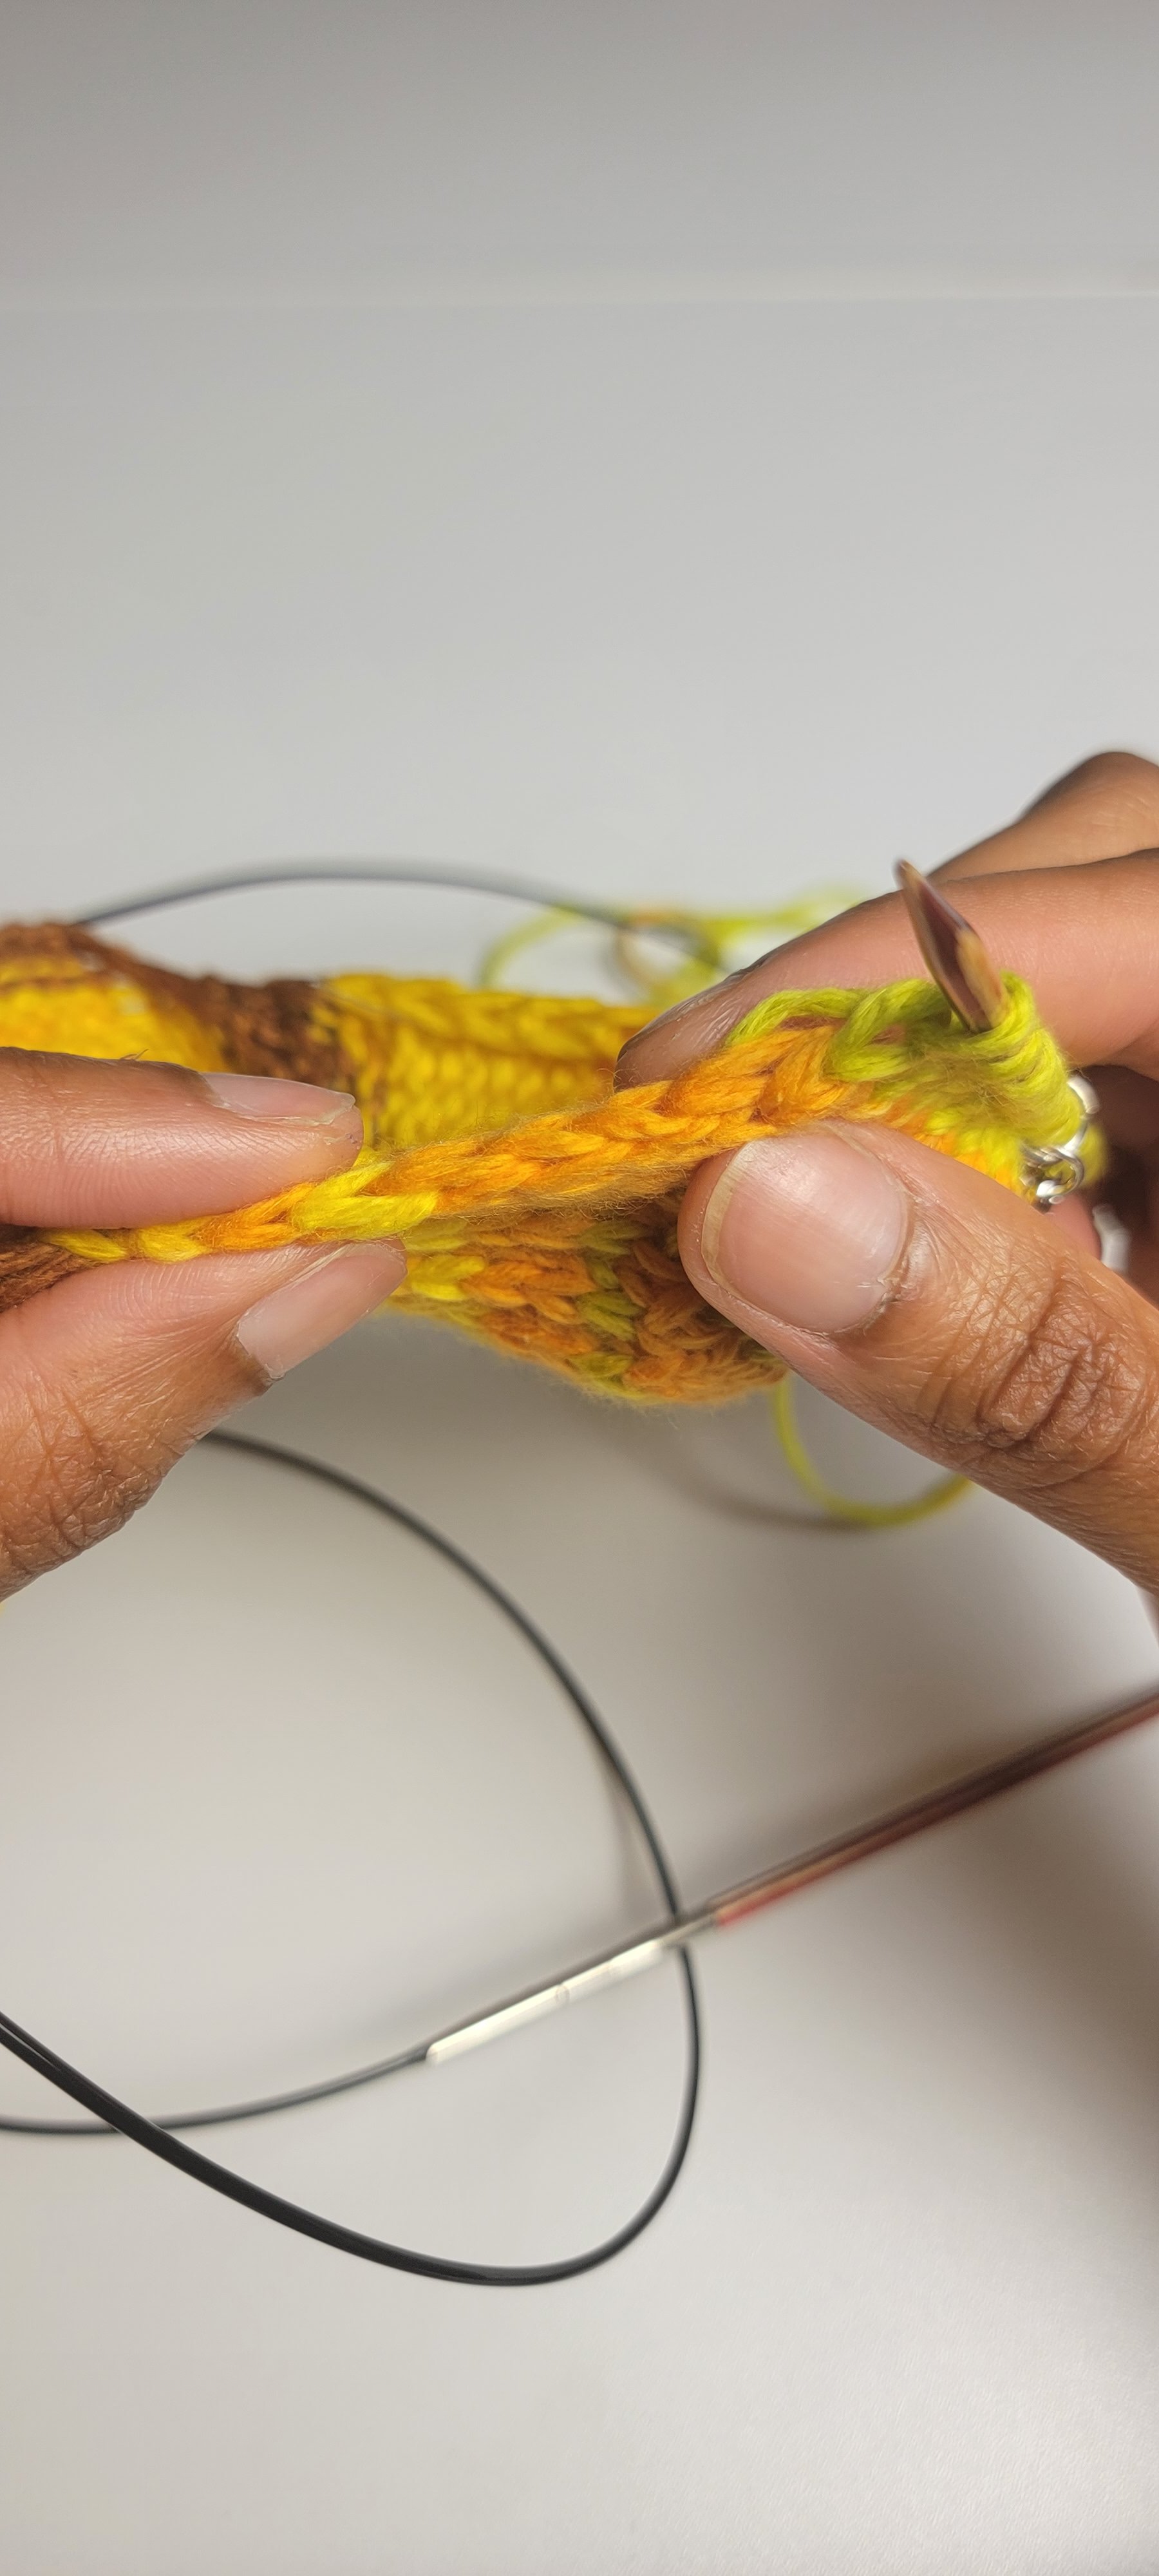
Pick up an extra stitch in the bars between the last stitch of your heel flap and the first stitch of the next needle. This is to prevent the gaps that happen when joining certain areas (this happens a lot on the underarms of sweaters). These aren’t permanent and will be decreased later.
Knit until you return to the heel flap. Pick up one st between your last knit st and the first slipped stitch of the heel flap, then pick up your heel flap stitches. Knit to BOR marker.
It’s gotten crowded, but the gusset and heel flap stitches should all be grouped together. Redistribute your DPNs or adjust your stitches on your circulars accordingly.
**You should have picked up the same number of stitches on either side of the heel flap and now is a good time to check your stitch count. If you started your sock with an uneven number of stitches on your needles, there will be one more stitch on one side of the BOR marker. Otherwise, you should have even number of stitches. Don’t undo this bit if your stitch count is slightly off! Decreases are your friend, and they’ll save the day. We’ll get your stitch count where it needs to be.
Next round: K to last 2 gusset stitches, k2tog, k across top of foot, ssk, k to BOR.
You’ve now decreased the extra stitches that you picked up between the heel flap and the top of the foot.
Knit 1 round.
4. Gusset Decreases
From here, you will be alternating between a decrease round and a knit round until your heel is back to its original stitch count.
Round 1: K to the last 3 sts in heel, k2tog, k1, k across top of foot, k1, ssk, k to BOR.
Round 2: K around.
After you’ve completed the decrease round that gets you back to your original stitch count, continue to knit around for the foot. Enjoy that incredible heel you just made!